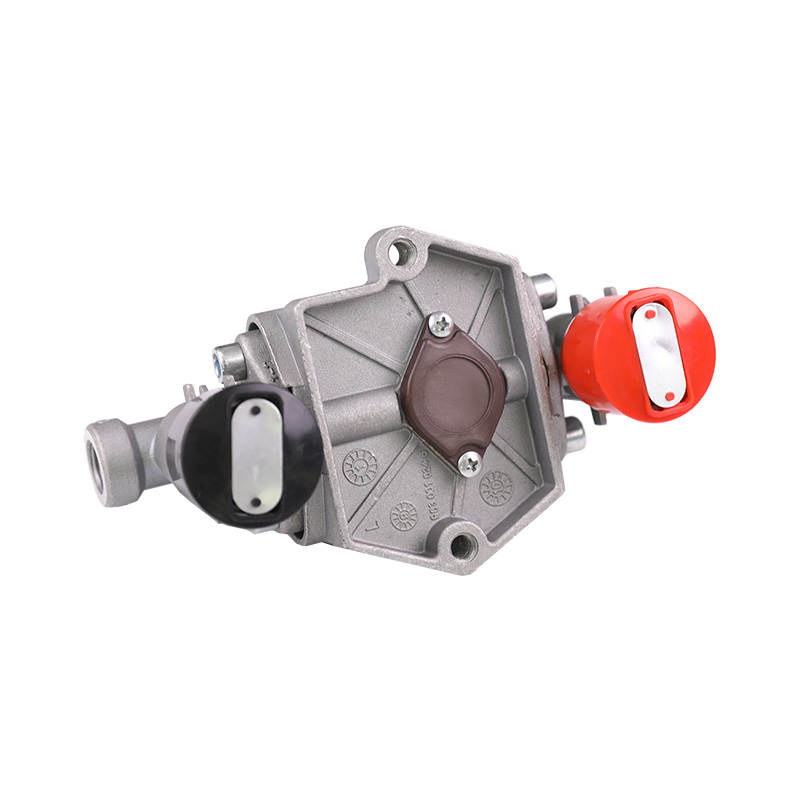
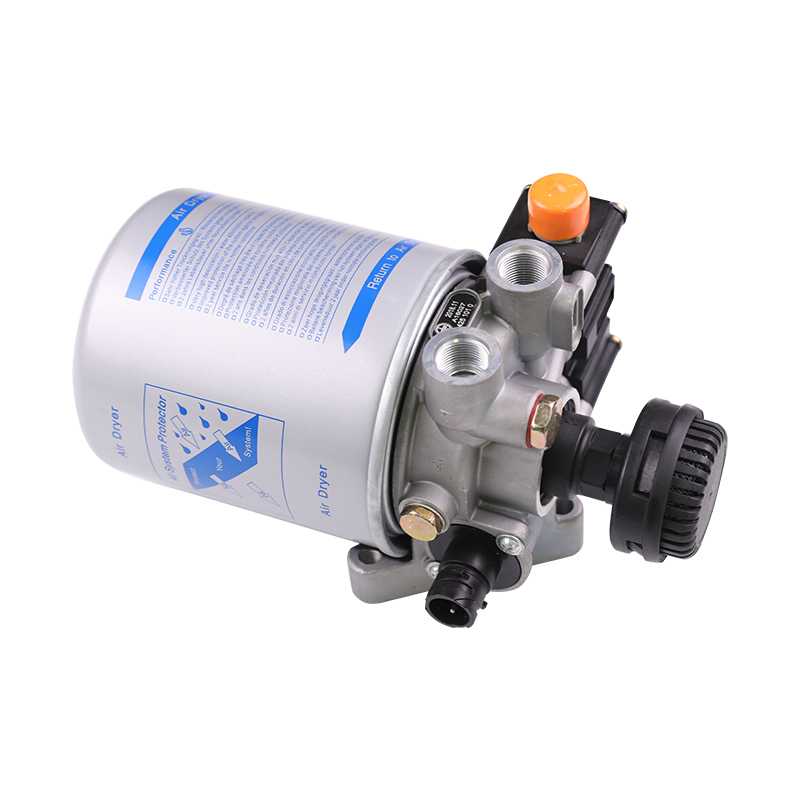
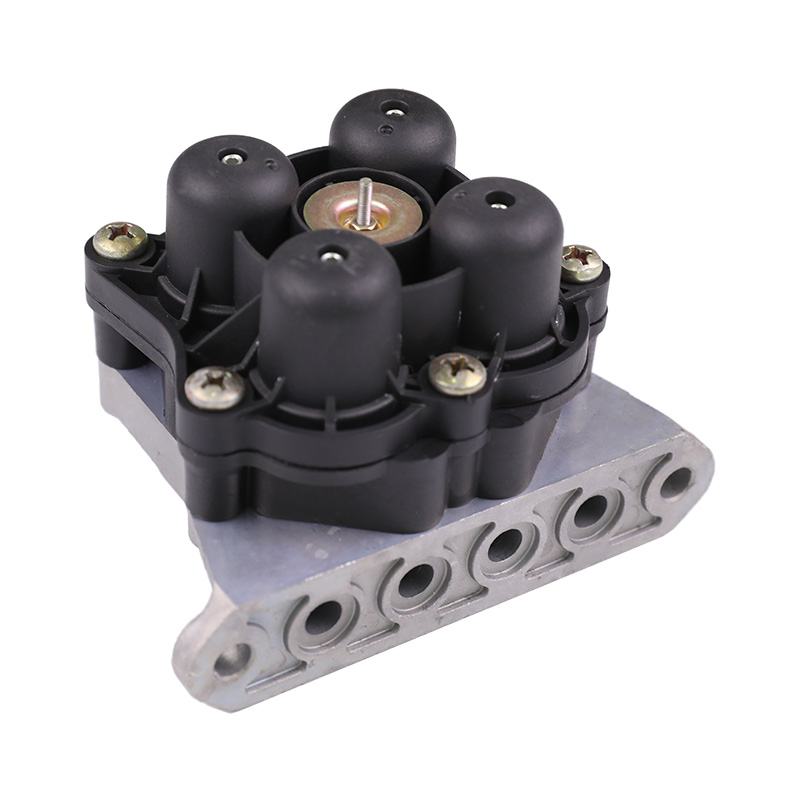
The brake foot valve is a vital component of the vehicle's braking system, responsible for regulating the flow of brake fluid to ensure that the vehicle can brake safely and effectively during driving. As the use time increases, the brake foot valve may accumulate dust, oil and other contaminants, which may affect its performance. Therefore, regular cleaning of the brake foot valve is a key step in maintaining its normal operation. During the cleaning process, special attention needs to be paid to several matters to ensure the cleaning effect and the integrity of the valve body.
Preparation
Before cleaning, make sure to prepare the necessary tools and materials. This includes wrenches, screwdrivers, special cleaners, soft cloths and brushes. Choosing the right cleaner is crucial. It is recommended to use special cleaners and avoid using strong acids or strong alkaline chemicals to avoid damage to the valve body material.
During the cleaning process, make sure the vehicle is in a safe state, stop the car and pull the handbrake to prevent the vehicle from moving accidentally while cleaning. At the same time, wear gloves and goggles to protect yourself from chemicals and dirt.
Disassembly and inspection
Before cleaning the brake foot valve, it needs to be removed from the vehicle. During the disassembly process, be sure to record the installation order of each component so that it can be accurately reset when reinstalled. In addition, carefully inspect the foot valve and its connections for obvious wear, cracks or corrosion. These problems may directly affect the performance of the brake system, and damaged parts should be replaced in time if necessary.
Cleaning process
Valve body cleaning
Wipe the outside of the brake foot valve with a soft cloth and appropriate detergent to remove surface dirt and grease. For hard-to-reach places, you can use a small brush for auxiliary cleaning to ensure that every corner is thoroughly cleaned.
Internal cleaning
When cleaning the inside of the foot valve, you need to be particularly careful and use appropriate detergents and tools to avoid scratching or damaging internal parts. Compressed air can be used to gently blow away internal dust and impurities, but care should be taken to control the air pressure to avoid damage to the valve body.
After cleaning, be sure to ensure that all detergents and moisture are thoroughly removed to prevent moisture from remaining inside the valve body, which may cause corrosion or brake fluid contamination.
Protection of seals
During the cleaning process, pay special attention to the seals inside the foot valve, check whether the seals are aging, cracked or deformed, and replace them if necessary. At the same time, try to avoid contact between the cleaning agent and the rubber seal, as some chemical components may cause aging and damage to the rubber material.
Reinstallation
After cleaning, check all parts to ensure that they are in good condition. Damaged parts must be replaced. When reinstalling, install the brake foot valve back to the vehicle in the order recorded previously, and ensure that all connections are tightened without looseness to avoid brake fluid leakage caused by looseness.


